1. Preparing the rough sketch
The first step in drawing a rough mountain sketch is to decide what kind of mountain you want to draw. There are many types, from realistic mountains to fantasy-style mountains to simple hills. First, imagine the image in your mind and think about the rough shape. You can also look at a photo or landscape painting for reference. When deciding on the composition, pay attention to the height of the mountain and the spread of the background, and proceed with the rough sketch while checking the overall balance.
2. Drawing the large shape
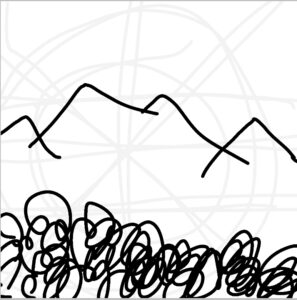
When drawing a rough mountain sketch, first roughly draw the overall silhouette. Do not add complex details yet, but decide the height and shape of the mountain, and whether to make it a series of mountains or one large mountain. It is a good idea to be conscious of the slopes and angles of the peaks of the mountain, and use curves and straight lines to make the whole look natural.
3. Adding mountain details

Next, add details such as rocks, trees, and snow to match the silhouette of the mountain. Even at this stage, you do not need to draw in detail yet. Since this is a rough sketch, it's okay to just focus on the obvious points, such as where the big rocks are, where the trees are growing, and whether there is snow on the peak.
Finally, a summary of the rough mountain sketch
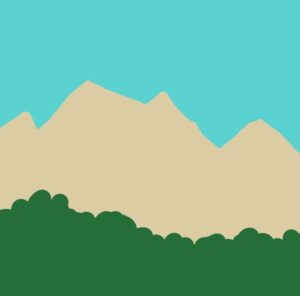
When sketching a rough mountain sketch, it's important to keep the overall balance in mind. Start with the big shapes and gradually add details and light and shadow to create a mountain with a natural feel. The rough sketch is the foundation for the final finish, so feel free to continue sketching and express your image.