1. What are highlights?
Highlights are areas that are illuminated and shine brightly. Adding highlights to a tree makes it look three-dimensional and emphasizes its presence in nature. In particular, painting the areas that are illuminated brightly will give the whole painting a lively impression.
2. Consider the light source for the tree
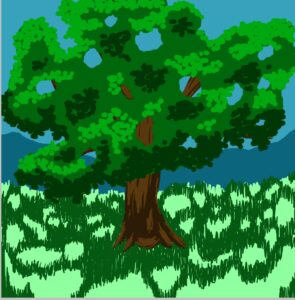
When drawing highlights, the first thing to do is to decide the position of the light source. Where to put the highlights depends on the direction from which the light is hitting it.
It is also important to consider the st rength of the light on the tree and the direction of the light.
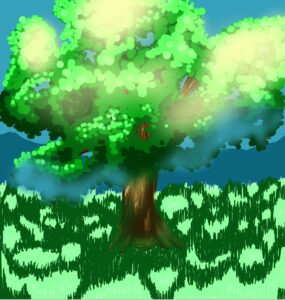
If the light is hitting it from above, add highlights to the top of the tree and the lea ves. If the light is hitting it from the side, add highlights to the sides of the tree trunk and branches. Add highlights to natural places while thinking about where the light source is.
If the light is strong, the highlights will be clear and bright, and if the light is weak, the highlights will be soft. In the midday sun, the highlights are clear, and in the evening or on cloudy days, the highlights are faint.
3. How to draw highlights on trunks and branches

Adding highlights to the trunks and branches of a tree will give the tree a three-dimensional look. First, let's learn how to add highlights to the trunks and branches.
We will also draw highlights on the trunk and branches.

On the trunk, draw highlights with thin lines and light colors in the areas where the light hits. Since the surface of the trunk is slightly uneven, the highlights should not be straight lines, but rather be slightly curved or broken lines to express the natural texture of the tree.
Similarly, draw highlights on the branches where the light hits. In particular, in areas where the branches are curved, adding a slightly longer highlight will emphasize the curve of the branch. If the branches overlap, add a stronger highlight to the branch in front and a lighter highlight to the branch in the back to create a three-dimensional look.
4. How to draw leaf highlights

Adding highlights to the lea ves makes the whole tree look brighter and gives the feeling of wind and light movement. Here are some tips for drawing leaf highlights.
Next, try to express highlights on the top of the lea ves.
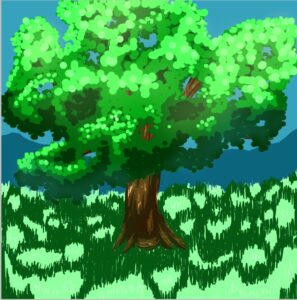
If the light is coming from above, add highlights to the top of the lea ves. Instead of drawing each small leaf one by one, add highlights to the cluster of lea ves to create a sense of volume for the whole tree.
5. Balancing the highlights

Finally, check the overall balance and adjust the highlights. Too many highlights can look unnatural, so pay attention to the appropriate amount and location.
Consider reflected light to make the picture look more three-dimensional.
Adding reflected light near the highlights will make it even more realistic. For example, trees near water can be hit by reflected light from the water surface, so it is effective to add a little highlight to the bottom of the tree as well.
Summary of tree highlights
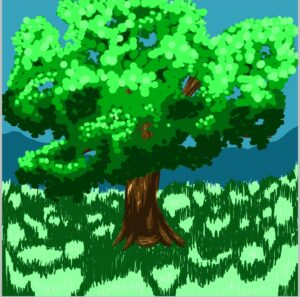
Drawing tree highlights adds three-dimensionality and brightness to the picture. By adding highlights appropriately to the trunk, lea ves, and branches while keeping in mind the light source, you can express a natural atmosphere. Adjust the st rength and position of the highlights to make the whole tree look beautiful. By using the highlights effectively, you can create an attractive picture in which the tree looks as if it is enveloped in light.