1. Determine the shape of ice

Ice is a transparent material, so first think about what shape you want to draw the ice into.

Square ice, sharp icicles, crushed ice, etc. ha ve different shapes and give different impressions.
Basically, by using lots of straight lines and undulating shapes, you can express the coldness of the ice.
By drawing simple blocks and missing parts in the sketching stage, you can draw realistic ice.
2. Express the transparency of ice
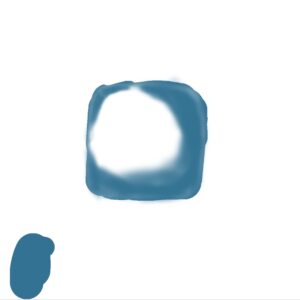
The most striking characteristic of ice is its transparency.
When painting, it is advisable to use white, light blue or bright light blue to a void painting too dark.

It works to make some of the lines and patterns you draw thinner or blur them with an eraser so that a little bit of the inside of the ice can be seen.
3. The balance of light and shadow
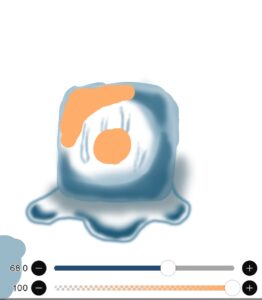
The surface of the ice reflects light, but some of the light is also absorbed into the ice.
Create a three-dimensional effect by adding strong highlights to surfaces and slightly darker shadows to the corners.
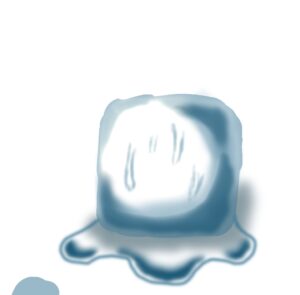
For example, you can emphasize a cold atmosphere by adding white lines in areas exposed to light and using blue or light gray in shadow areas.
5. Expression using gradients
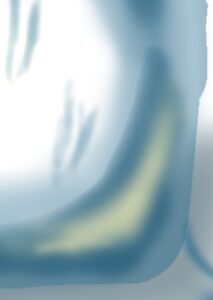
Color gradients are also important to make the ice look more realistic.
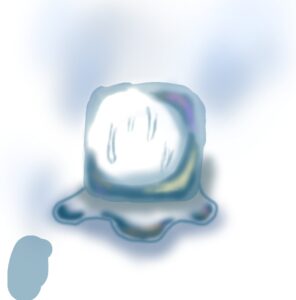
Use light blue in the center, fading the color toward the outside to create a sense of transparency.
By using gradients, you can really express the coldness of the ice and the way the light comes in.
Summary
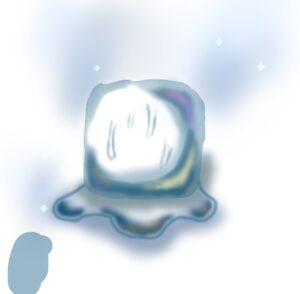
When painting ice, shape, transparency, and the balance of light and shadow are important.
During the sketching stage I decided to go with clear shapes and use light colors to create a sense of transparency.
Create a realistic look by painting detailed cracks and gaps, and use gradients to create a wintry atmosphere. With repeated practice, you can draw more realistic ice.